How to Create and Adobe Fonts Kit for Your Website
Due to recent changed in Adobe Fonts licensing, your business must have an Adobe Creative Cloud license in order to use Adobe Fonts on your website.
Once you have an Adobe Creative Cloud license, here is how to set up a font kit to share with us so we can load them on your website.
1. Go to Adobe Fonts at https://fonts.adobe.com/ and log in if you aren’t already
2. Search the font you want to add then click on it to go to the font detail page, then click on the Add Family button

3. Now click on Add to Web Project

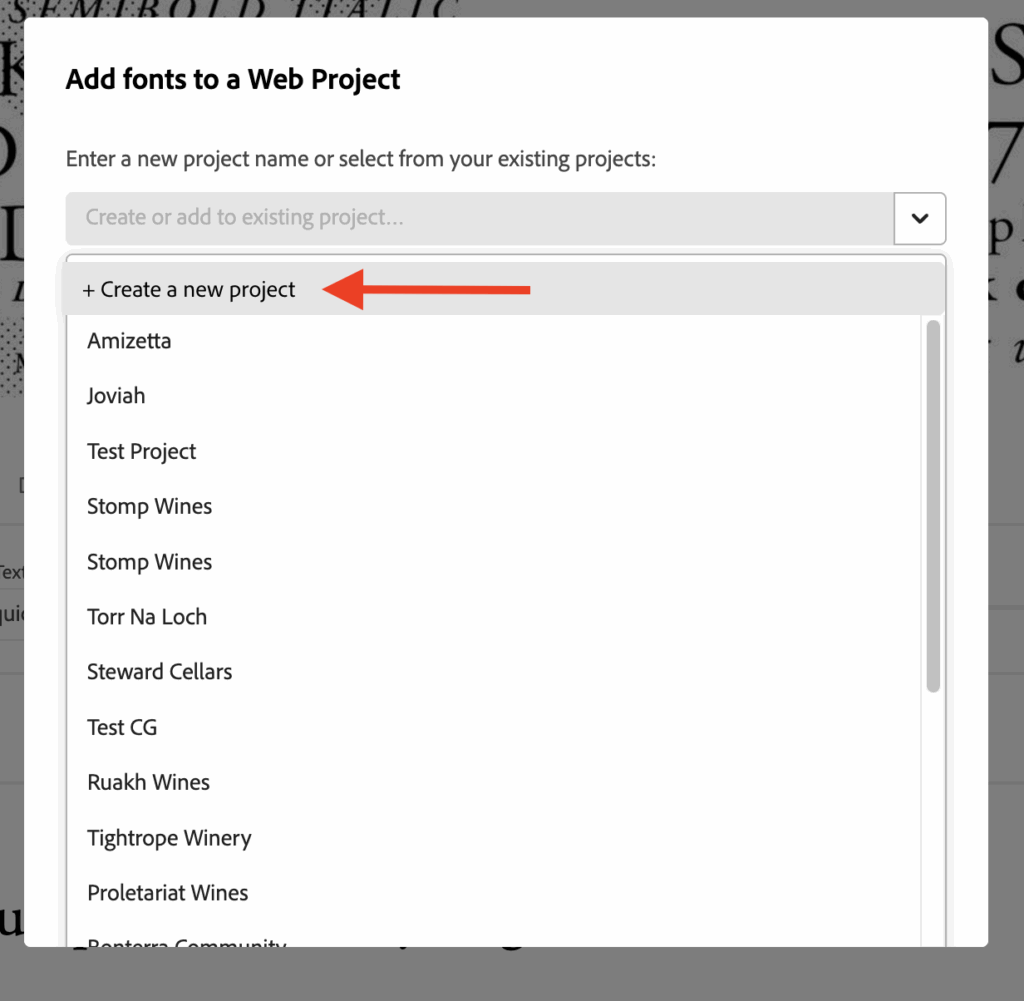
4. In the Web Project box that opens, click on the dropdown and select “+ Create a new project”
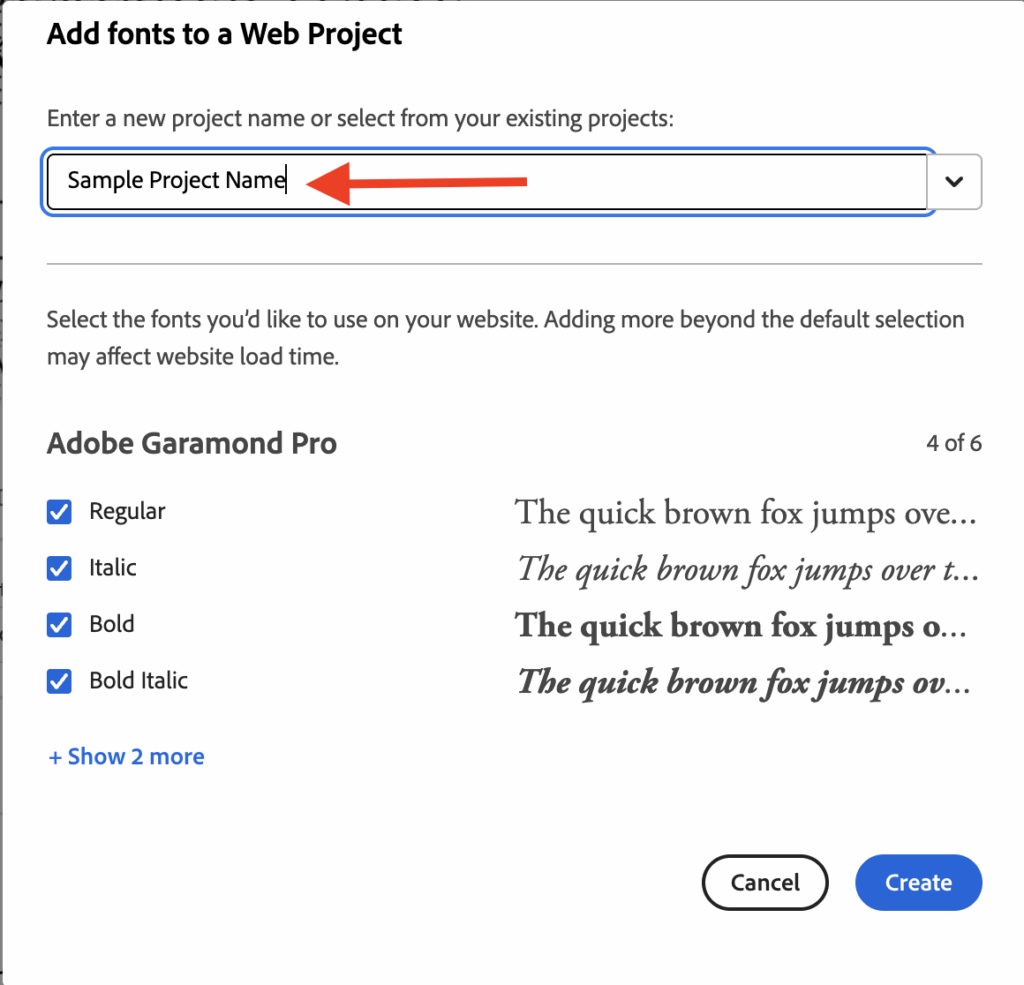
5. Give your project a name (usually your company or brand name), then review the various font options and select or unselect as needed. Typically, we only need Regular, Italic, Bold and Bold Italic. Click on the Create button
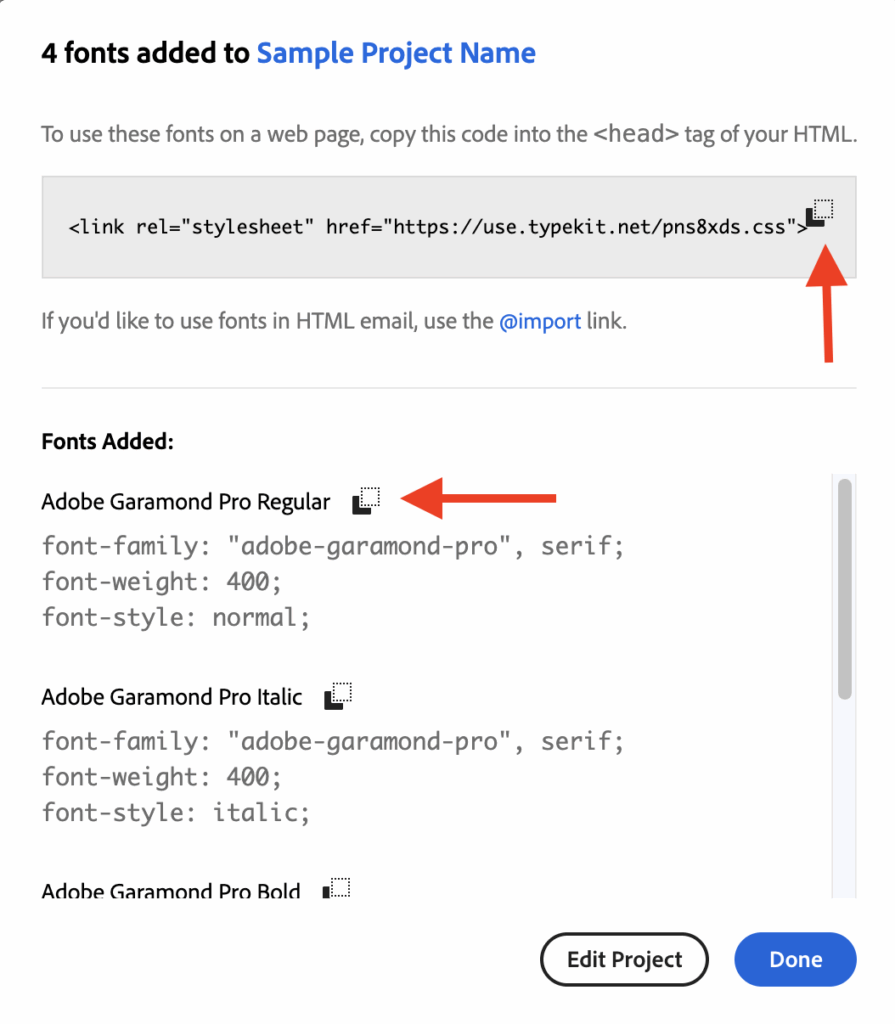
6. Copy the stylesheet code at the top and paste it in an email. Also copy the specific code for the first font option and add it to the email
7. To add a second font, click on Edit Project and repeat the steps. The stylesheet code will stay the same but add the specific code for the first option of the new font to your email.
8. Email us the stylesheet and other codes so we can implement on your site.