
Adding Personalization to Your Site
Adding personalization to your site requires some setup in Commerce7 first.
Step 1: Create A Personalization Block
The first thing you need to do is setup a personalization block under Developer/Personalization blocks in the Commerce7 Admin.
NOTE: You need to be a full admin to access the Developer menu
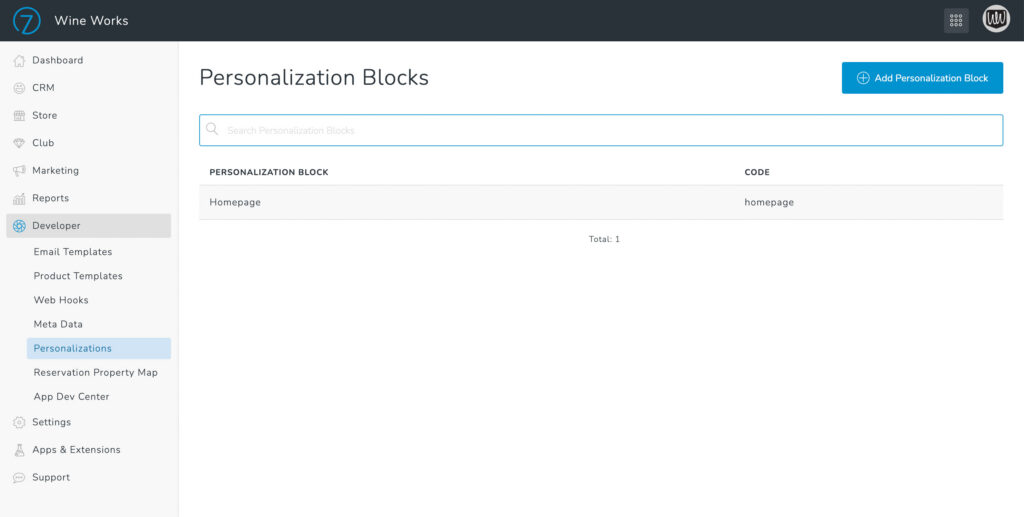
Click “Add Personalization Block”
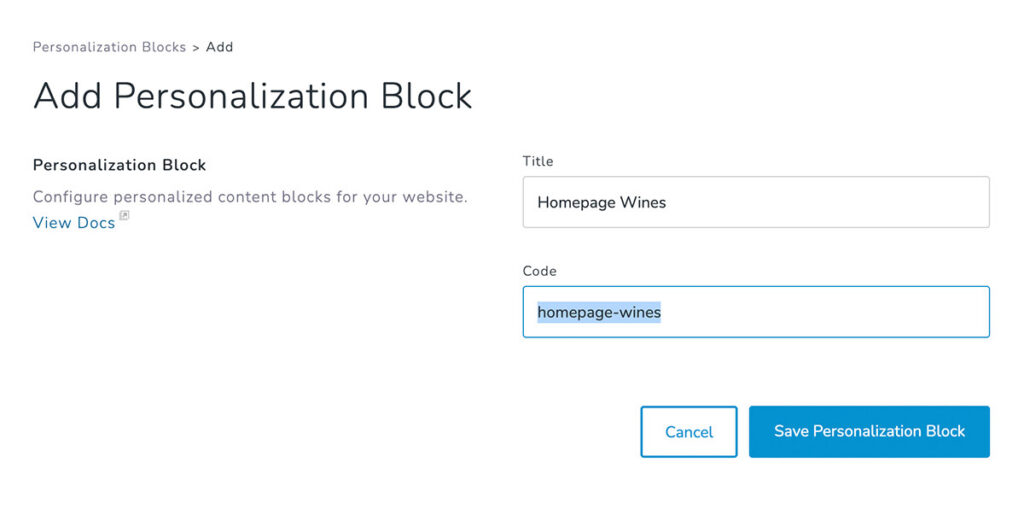
This will then generate a Code which you need in Step 3 to add the block to your site.
Step 2: Add your Personalization Block options
Once your personalization block is setup you move to Marketing/Personalizations in the Commerce7 Admin to setup your content options.
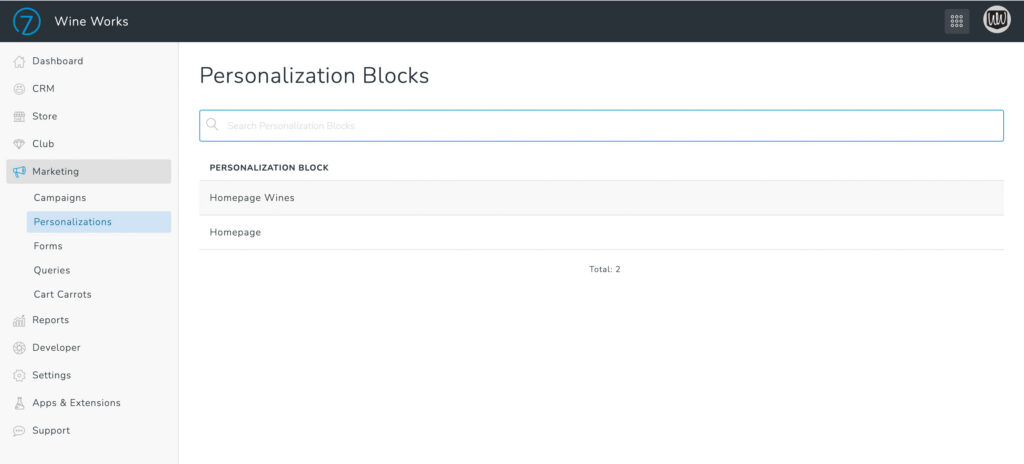
You will add in the different variations of content you want to show.
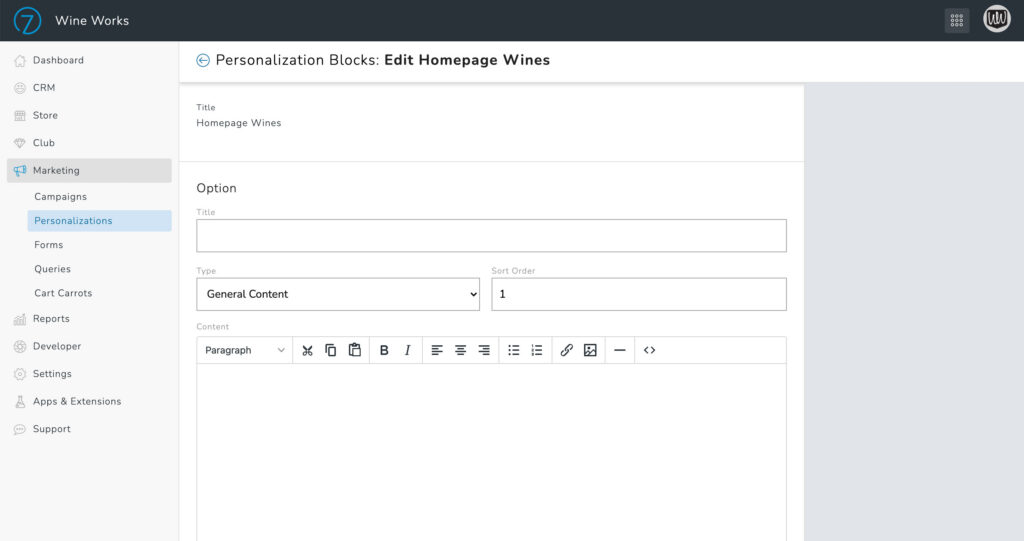
Documentation on how to add content to your personalization blocks can be found here: https://documentation.commerce7.com/personalization-tool-setup-for-wineries
Option 3: Add the content to your site
The final step is to add the personalization block to your WordPress site using a code snippet. Replace the value for data-block-code with the value from Step 1
Be sure to add the code snippet in Text view in WordPress
<div class="c7-personalization" data-block-code="homepage-wines"></div>
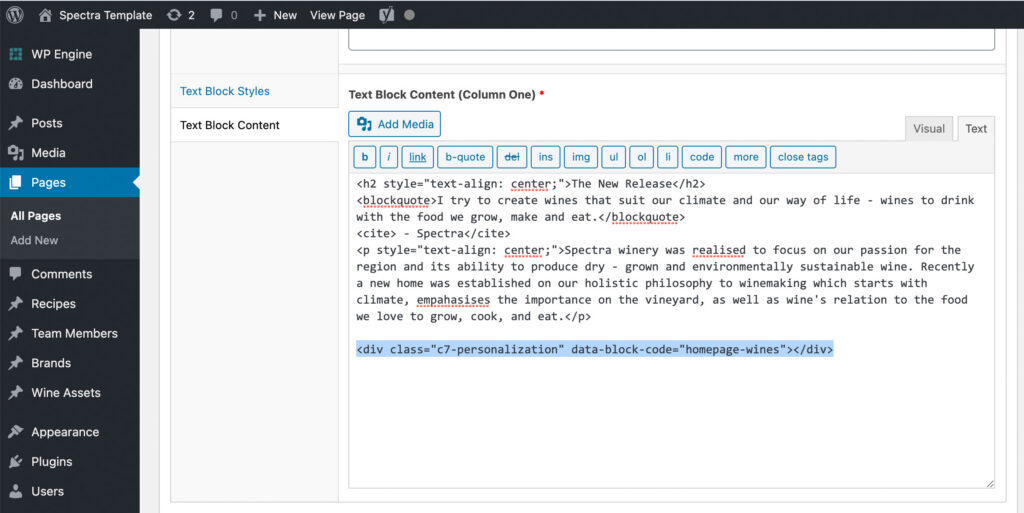
That should do it. You will now see your personalization block on the page.